Our daily movement is getting changed by technology. Electric rides are all around – fast, silent and clean. But what will happen when you can create your own electric bicycle at home and do not spend thousands of dollars? This is what I chose to do. I have changed my old and dirty bicycle into a powerful electric bike which now can drive me to work, parks and even long rides without any problems. Within this article, I will include the entire process (idea to ride) along with all the processes, lessons and tips that I learned during the process.
The Idea That Started It All
I was washing my garage one evening one day when I found my old mountain bike was full of dust. The one was lying idle years. At the same time, I also marveled at e-bikes which are driving around the city. The thought came to me, and I got the idea why not make my old bike an e-bike? It would be cheaper, entertaining to put together, and give me a superior way of travelling.
That evening to make a standard bike an electric one. I began to research on the same. Surprisingly, I got to know that there are a lot of conversion kits that can be located on the internet, as well as the ones that assist their users in plug-and-play and the ones that are more advanced. I followed some tutorials, browsed forums and plunged.

Choosing the Right Motor
The motor is the key component of any electric bike. There were three broad categories that I had to select:
- Front hub motor: Simple to put in place, but not so traction able.
- Rear hub motor: preferable to power and control.
- Mid-driven motor: the most efficient in terms of torque and more expensive.
I chose a rear hub motor with 500W rating because I needed to be able to move at a good speed and balance without having to spend too much money. It provides a good combination of speed and efficiency, which suits me well when I am riding every day.
Selecting the Battery
The range of your e-bike is actually the battery. I learned that the speed depends on the voltage. The range on the amp-hours (Ah). I held it to the downtube in order to give it a balanced position. My other precaution was to make sure that I bought a battery that had an inbuilt BMS (Battery Management System) so that the battery would not overcharge or overheat.
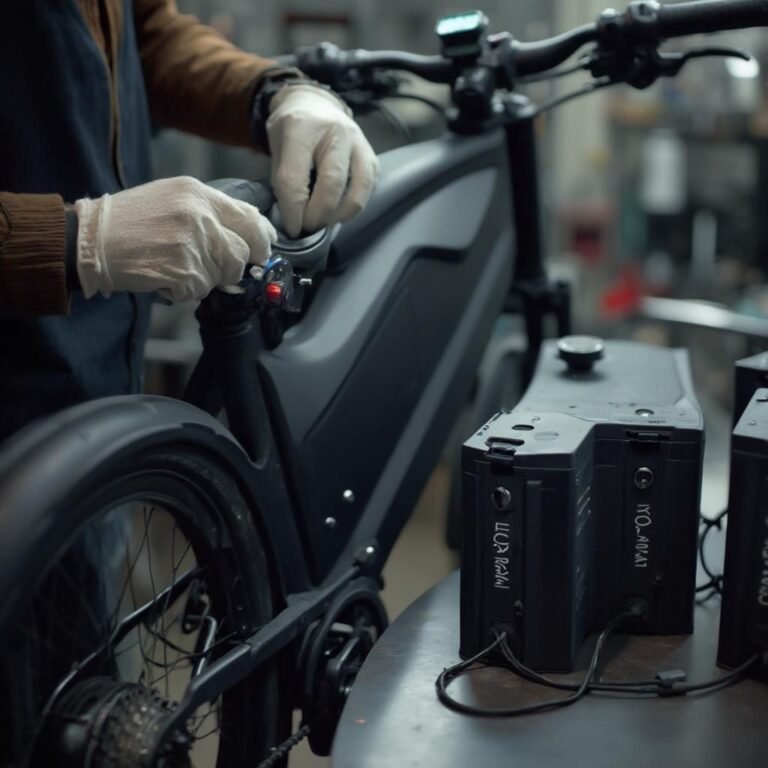
Installing the Controller
This was followed by the controller that links the throttle, motor and battery. I bought one under the conversion kit. I must get it very keenly glued on the side of the frame where it would be cool and not wanted by rain.
In the first stage, it was complicated to attach the wires, every cable was to perform the work (power, throttle, brakes, display). Luckily, it became easy due to color-coded wiring when I took my time and read the manual carefully.
The installation of Throttle and Display
This was the fun part. I added a twist regulate on the right handlebar that made the bike ride like a motorcycle. The LCD screen was situated at the handle in the middle, and it showed the speed and the trip distance. It was interesting to notice those figures lit up the first time getting round the bike was starting to become real.
Break and Safety Upgrades
Once the power mechanism was ready, I found out that the normal brakes could not have functioned. E-bikes are faster, and, thus, it is necessary to stop safely. I also fitted the car with disc brakes and made sure that all the brake cables had been installed. I also installed cutoff sensors in the brake lever – this automatically switches off the power when the brake is pressed and this prevents accidents.
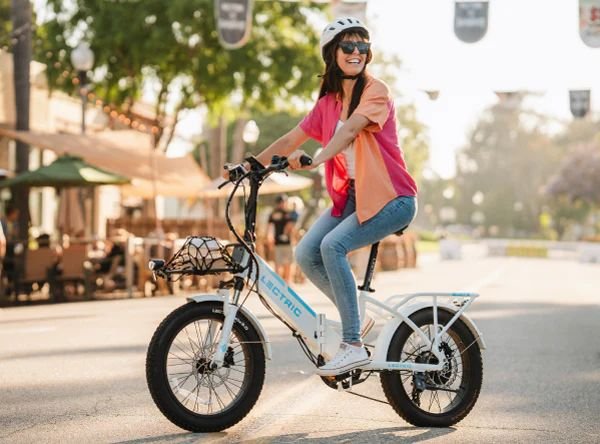
First Ride Experience
At last, a week later, the first ride was in question; the assembling and tests were completed. I switched on the power, flicked the throttle, and experienced the smooth acceleration. It was nothing, painless and remarkably strong.
The initial few meters were enchanted. My old bike that used to be hard to pedal up the hill, was now doing so smoothly. The fresh air on my face was like freedom. I could not help smiling the whole way.

Performance and Range
I used the display to monitor my performance after a number of rides. I was able to achieve 3540 km/h very easily on flat ground. Using pedal assist, the range reached as far as 55 km and charging required only an approximation of 5-6 hours and the price per charge was virtually zero -less than the run time of a light bulb.
The best part? I was no longer afraid of mountainous roads or commuting to work. The e-bike made each ride an adventure.
Difficulties I Experienced in the Conversion
The journey wasn’t smooth. I ran into several problems:
- I had purchased a controller that did not fit my motor.
- The battery mount was not fitting well and therefore I needed to drill in a new hole.
- Cable management was a slow process; I needed to wrap and tie all the wires.
All the challenges, however, made me learn something new about the way the e-bikes work.
Cost Breakdown
Here’s roughly what I spent:
- Motor kit (500W rear hub): $220
- Battery (48V 13Ah): $250
- Display, throttle, controller: $80.
- Disc brakes and wires: $50
- Miscellaneous (tools, mounts, zip ties): $30.
Maintenance Advice I Acquired
A key factor in making sure the e-bike is always in good shape is maintenance. To prolong the battery’s life. I discovered that it should only be charged to 80–90 percent.
- Wetting electrical parts When it is pouring do not ride.
- Wipe the chain frequently and lubricate it.
- Monitor tire pressure prior to each ride.
These minor routines counted a lot in performance and safety.
Environmental Effect and Advantage
In addition to personal savings, the project helped me to be eco-aware. This minimized the amount of fuel I consumed, zero emissions, and cycled an old bicycle that could otherwise have been wasted. Each ride made me remember that even minor behaviors can have a significant environmental effect.
Future Upgrades
I already considered upgrades after the months of riding. I plan to add:
- A larger battery with higher distance.
- Front suspension to provide better rides.
- Intelligent lighting that switches on when it is low.
The option of converting the bike became the gateway to DIY.

Conclusion
One of the most gratifying projects that I have undertaken was turning my old bicycle into a strong electric riding machine. It showed me the world of mechanics, electronics and sustainability – and provided me with an entertaining new mode of transportation.
It does not require an engineer or a lot of money to assemble an e-bike. It just requires curiosity, patience and effort. When you have an old bike or bike lying around, make something out of it. You can be riding the next big thing this weekend, with the proper kit and instructions, it may only be a matter of sparking it in your garage.

Pingback: Best Batteries for DIY Electric Scooters (2025 Comparison)
Pingback: Page Not Found - ecrazyride.com